

Mesh Banners
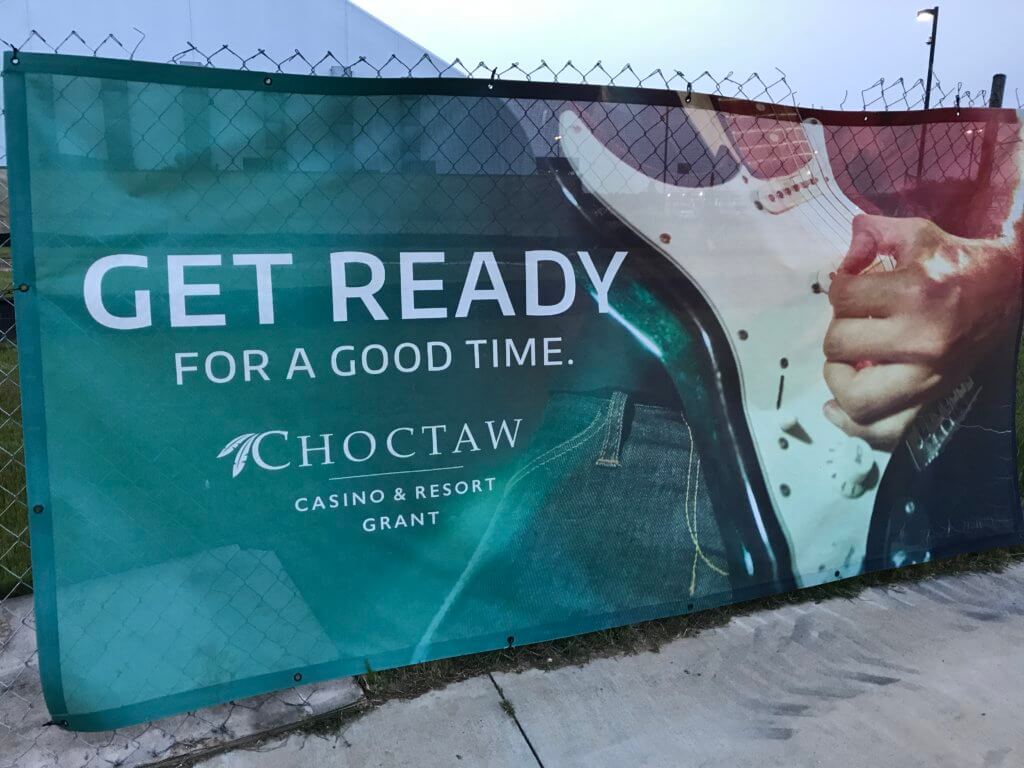
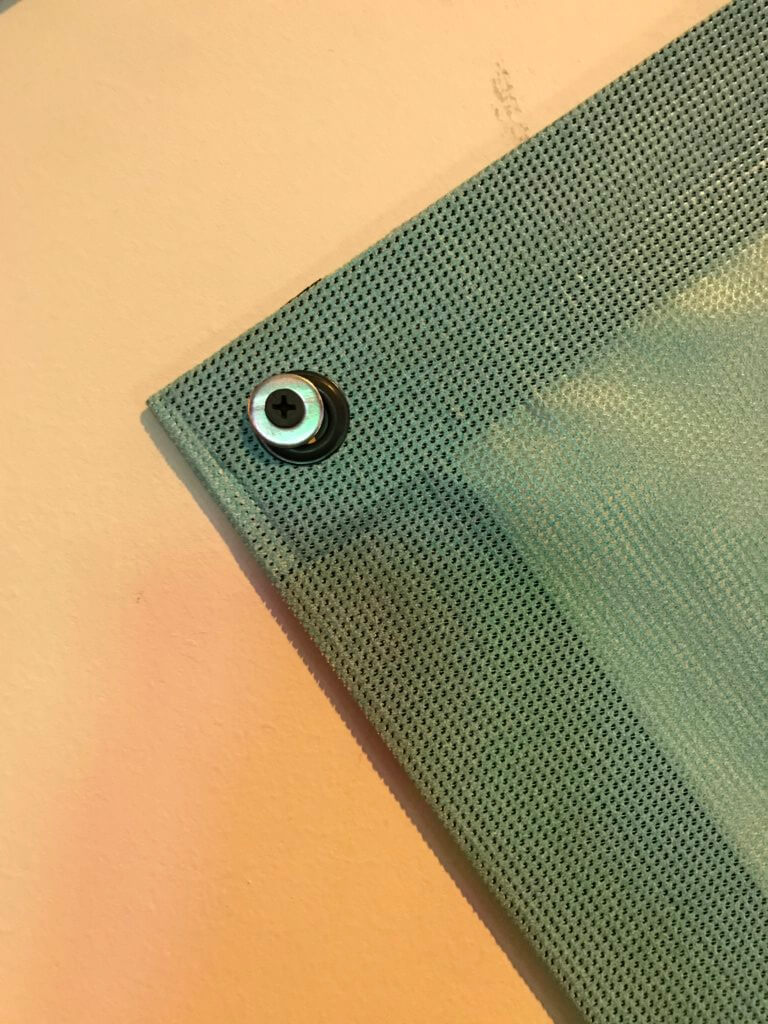
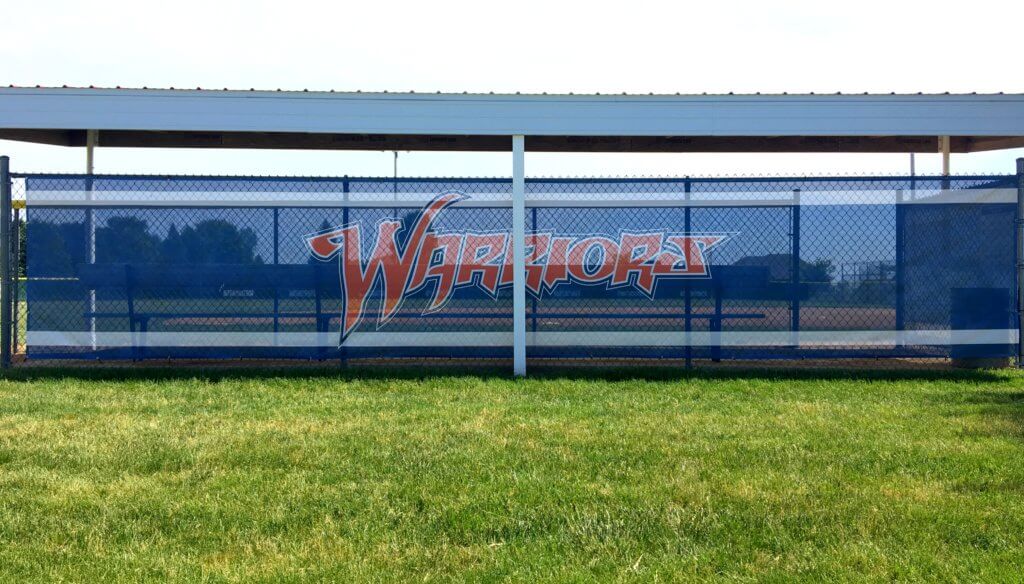
Mesh Banners
A payment link will be emailed once your order is reviewed and perfect!
Product Description
Description
Learn More about Mesh Banners by watching our Video!
- A perfect option for when your desired application requires a lightweight product
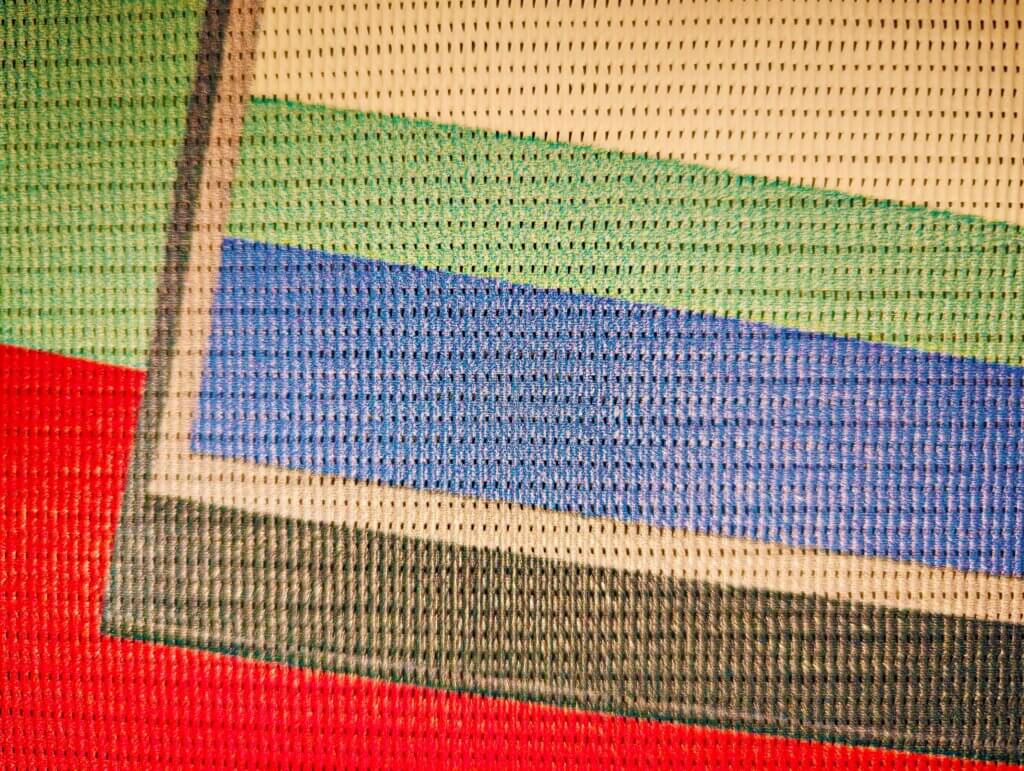
- 70% print surface / 30% Air Flow
- Single side print
- Available in 16’ wide seamless
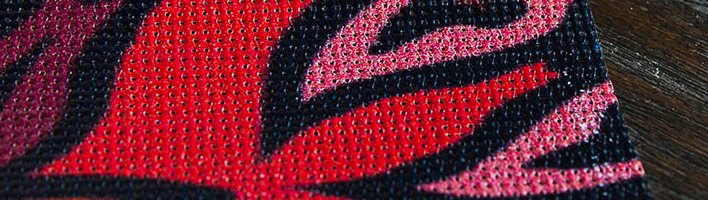
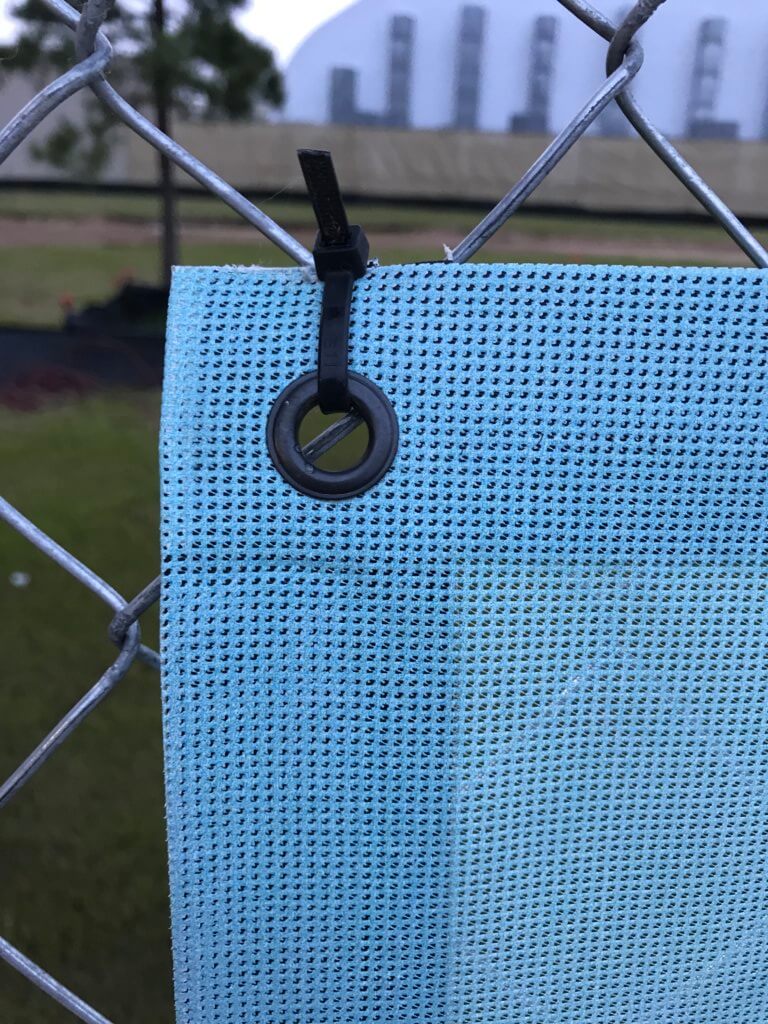
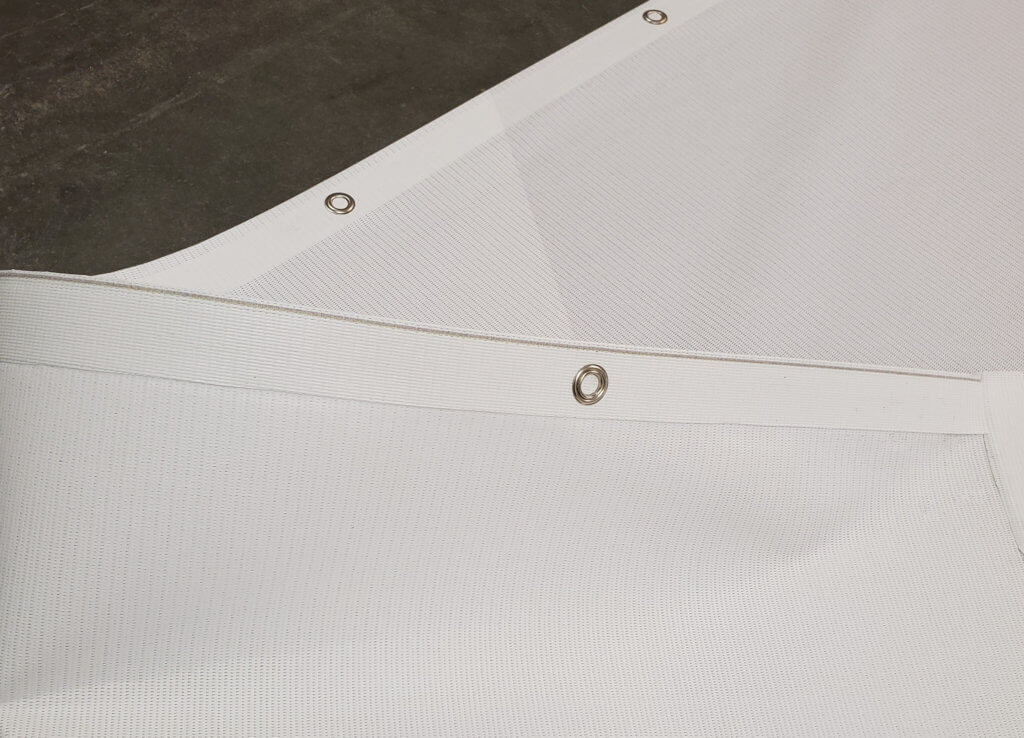
Lightweight, flexible, and durable, vinyl mesh banner printing is ideal for those projects demanding the highest quality in manufacturing, crisp image detail, and brilliant color. With 16’ wide rolls and reinforced seaming for over-sized graphics or high wind areas, mesh material can be used to make any size graphic imaginable! Heat-seamed for simple installation with ropes, bungee cords, cables or secured fasteners.
This product is typically used for large outdoor graphics, scaffolding, stage backdrops, stadiums, fence wraps and more.
Please view our more detailed graphic guidelines spec sheet. LINK
Photoshop File
1. Open a new document.
2. Set your width and height scaled at 1 inch = 1 foot. Do not add bleed
3. Set your resolution to a minimum of 360 dpi. (Billboards)
Set your resolution to 720 dpi for high resolution print upgrades. (Banners)
4. Set your document color mode to CMYK, and the color profile is set to US Web Coated (SWOP) v2 . Do not send files in RGB mode.
5. Once artwork is complete, flatten all layers and save as a Tiff with LZW Compression.
Illustrator File
1. Open a new document.
2. Set your width and height scaled at 1 inch = 1 foot.
3. Set a 1 inch bleed to your document width and height.
4. Set your document color mode to CMYK. Do not send files in RGB mode. Your project will be converted to CMYK and there will be a difference in color
5. Save file as a high quality PDF or AI

Sometimes mistakes happen! We love to help and we always find a fair solution for all!
Please view how we will help make prints right. LINK